MAKING A TWO-PART RTV SILICONE MOLD
BY
GREGG ESHELMAN
Day 1.
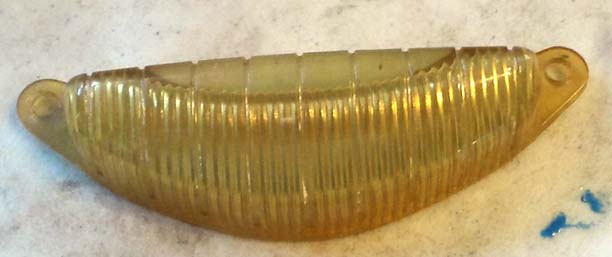
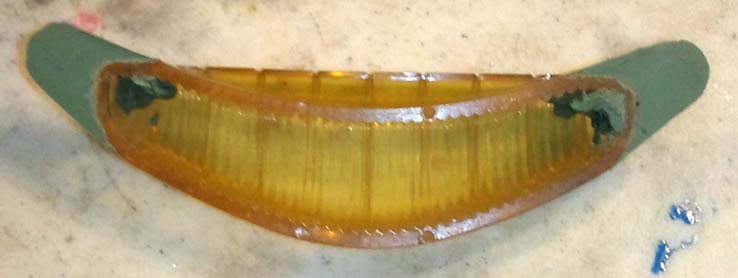
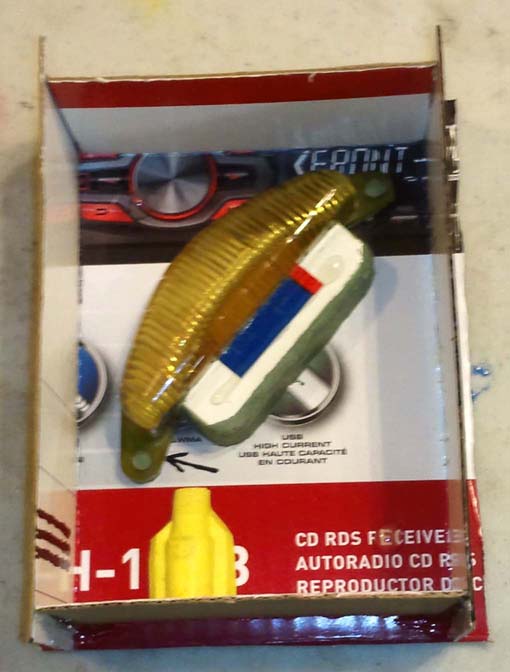
I'm making a mold of this plastic lens from 1941. It goes above the headlight of a car like an eyebrow. (Pics are upside down.)
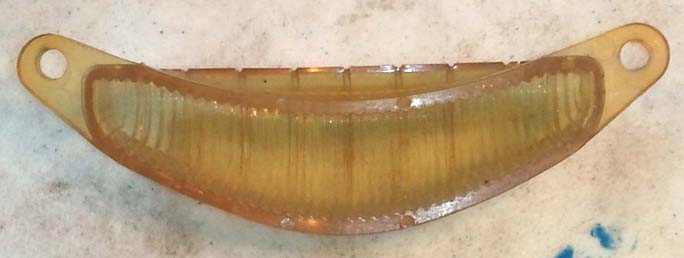
The back side. The two ears aren't flush with the bottom edge. I'll have to fill the space under them with clay.
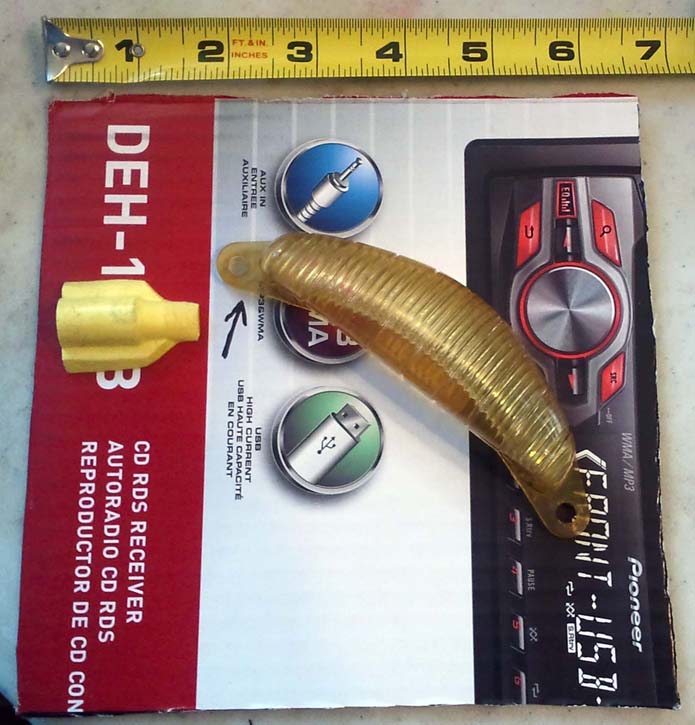
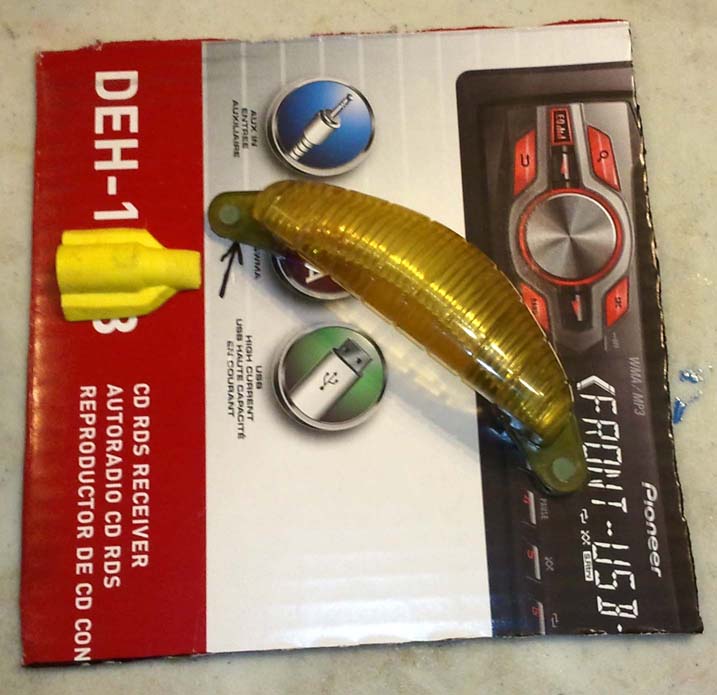
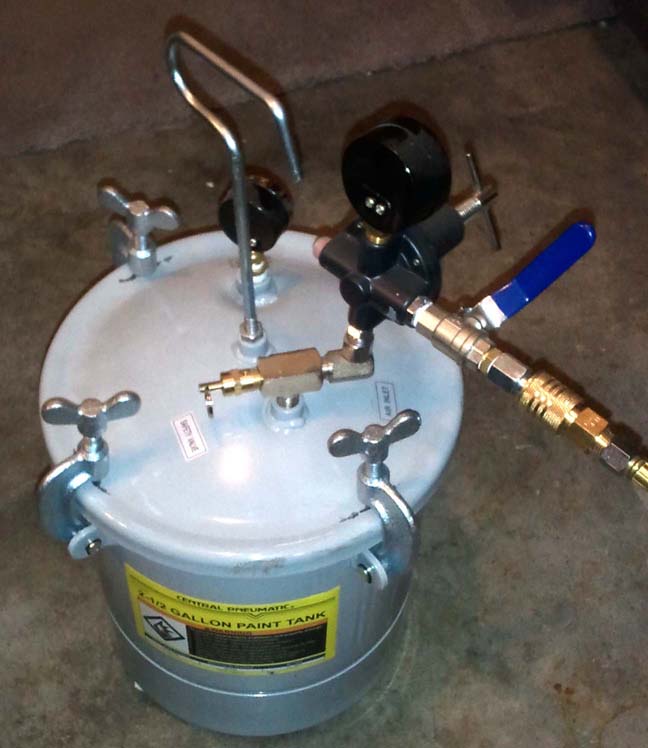
The pressure pot I'll be using is Harbor Freight Item #66839. The largest square that will fit in it is 6.75” A slightly longer mold form can fit if it's also made narrower. Here I've placed the lens and the former for the first half of the sprue to decide where they'll be hot glued to the cardboard. The arrow points to where the original injection place is. I'll cut a channel in the mold between there and the sprue.
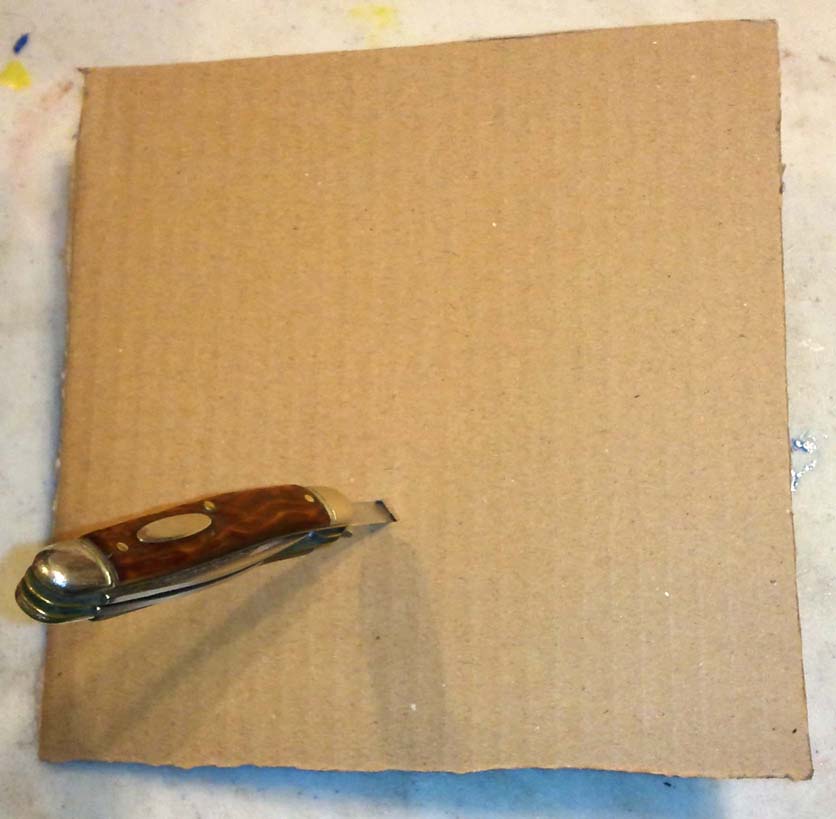
Update: I mostly use plain corrugated cardboard covered with clear packing tape. That’s easier than finding the shiny surface cardboard.
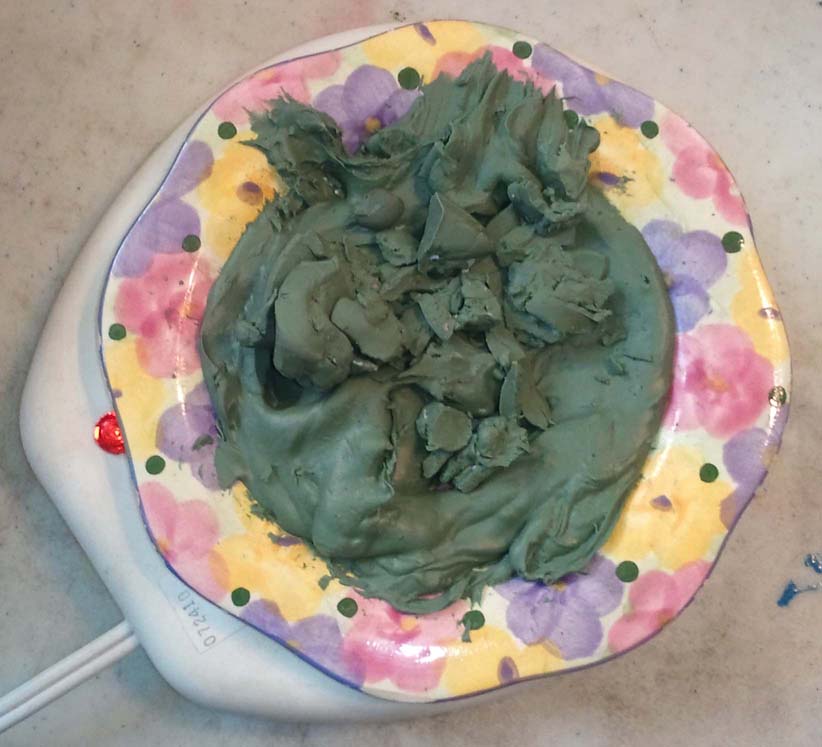
Softening sulfur free plasticine modeling clay, in this case some decades old Clayola*, stays fresh forever, on an old ceramic saucer on a mug warmer. Another brand that's very similar is Klean Klay.
*At some point Binney & Smith changed the name to the rather boring Crayola Modeling Clay.
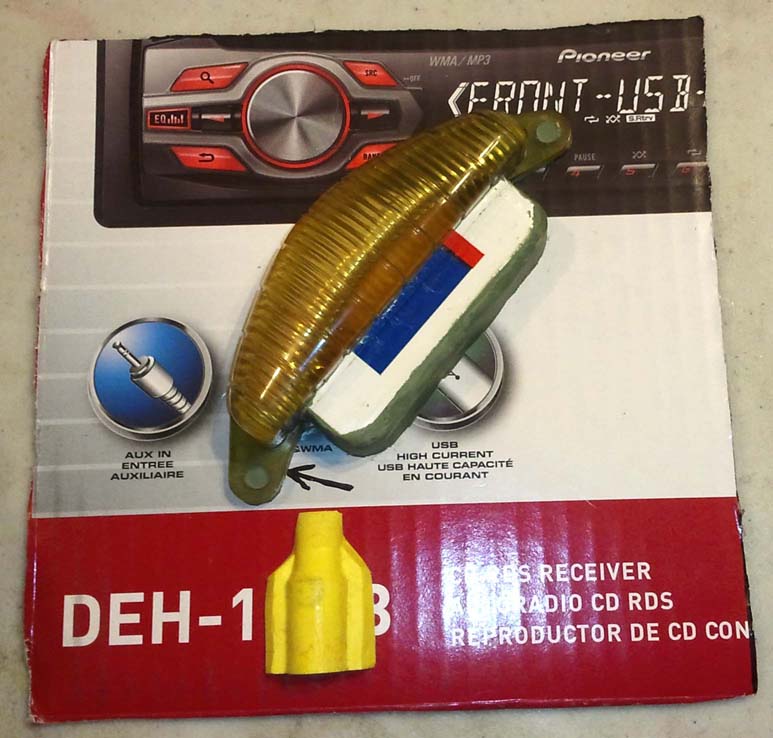
The clay applied to the space under the ears and a couple of places on the inside to seal and partially fill the two drain holes in the bottom of the lens. Small nubs will be formed in the mold cavity for drilling the holes in the new lenses.
The lens and sprue former hot glued to the base cardboard. (Cardboard generously provided by the box from my new car stereo.)
Here is something very important. When pressure casting a mold of a hollow item like this lens, the inside of the item must be vented to allow equal pressure all around. If I didn't poke a hole in the cardboard, the pressure would either collapse the cardboard into the inside of the lens or it could crush the lens. This works on the same principle as a diving bell with an open port on its bottom. An RTV mold can be made of anything the silicone won't stick to and which can support the weight of the silicone – as long as the pressure is equal all around.
This lens has a large undercut which has to be filled. I stacked several layers of thin cardboard with hot glue then coated that with the warmed up clay. I also carefully pressed clay into the gap between the cardboard stack and the cavity in the bottom of the lens. Also note the hole in each ear is filled with clay. The silicone dries up the clay so some of it gets thrown away instead of being reused.
Now I have the walls of the form hot glued in place. All the walls should be the same height. The cardboard has a shiny surface which RTV silicone will not stick to, but I spray it with a coat of mold release after gluing. Hot glue will not stick to cardboard with mold release on it! I've also run a line of glue along the top of the stacked cardboard and a dollop in two of the corners for making keys for mold alignment.
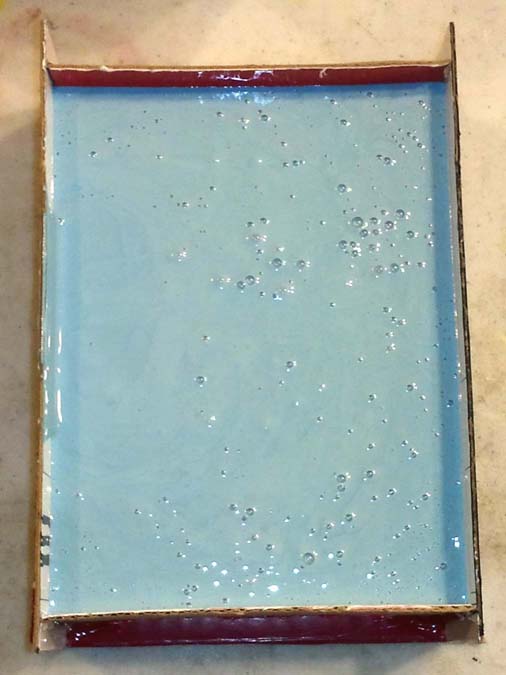
Silicone poured into the form. This one took 650 grams of silicone and 65 grams of catalyst for the first half.
Here's the mold in the pressure pot with a small bubble level. After leveling the mold make sure to remove the level. You don't want the pressure to crush the vials.
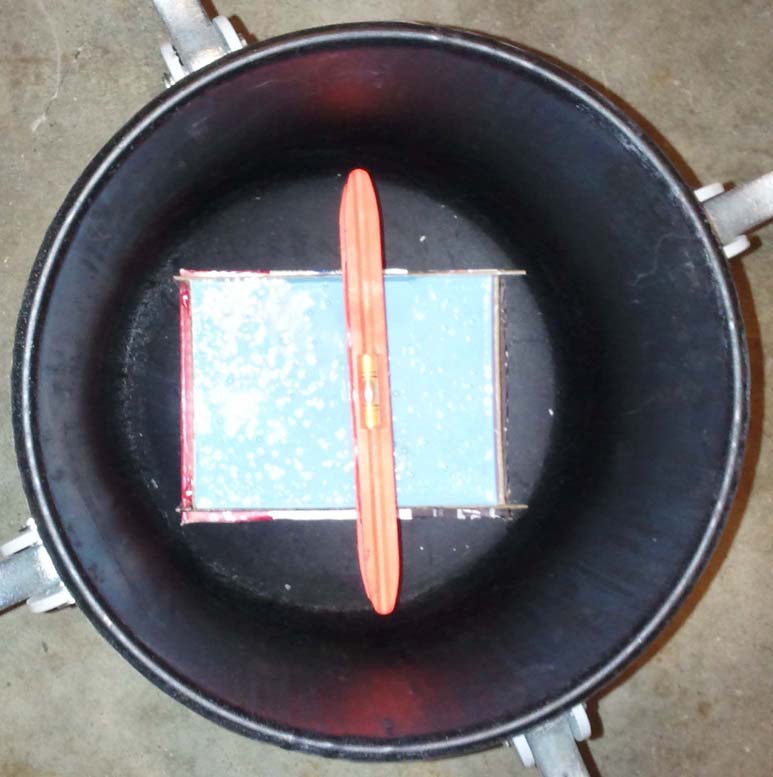
With the regulator set to 60 PSI, put the lid on, tighten it as tight as you can by hand then close the ¼ turn ball valve and connect the hose. Open the valve until you hear air going into the pot. Opening the valve wide open can force air into places you don't want, causing bubbles in the mold. Gradual pressure rise helps force the air bubbles into solution in the silicone. Now you can leave it to set overnight while the silicone cures. Don't be tempted to open the pot any sooner than 12 hours! If the silicone isn't cured, it will foam up like dissolved gasses in a diver's blood when he comes to the surface too fast. Unlike a diver with the bends, there's no hope for a silicone mold when that happens.
Day 2.
Here is the mold half with flash rough trimmed using a pair of angled nail clippers. It still has some bits of clay on it because it needs washed with soapy water and an old toothbrush.
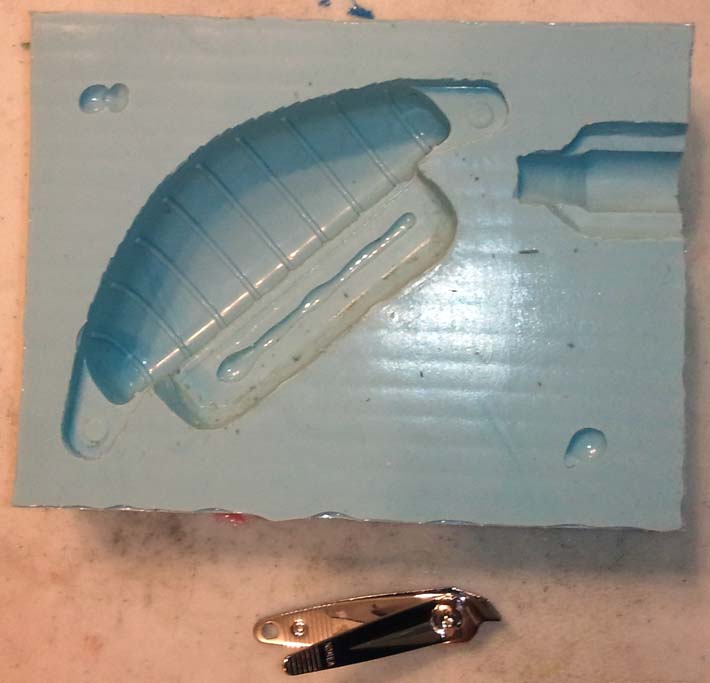
Now it's all clean and trimmed. The outer edge bevel forms a full alignment key around the mold. The mold cavity is cut down to the original parting line of the lens. You need a VERY SHARP knife for this. It can simply be pushed through the silicone like cutting a medium-hard cheese. If you have to saw the blade back and forth, it's not sharp enough. Carbon steel blades hold a razor sharp edge quite well. So do good grades of stainless steel. 420 stainless won't do the job, it can be made very sharp but loses a fine edge quickly.
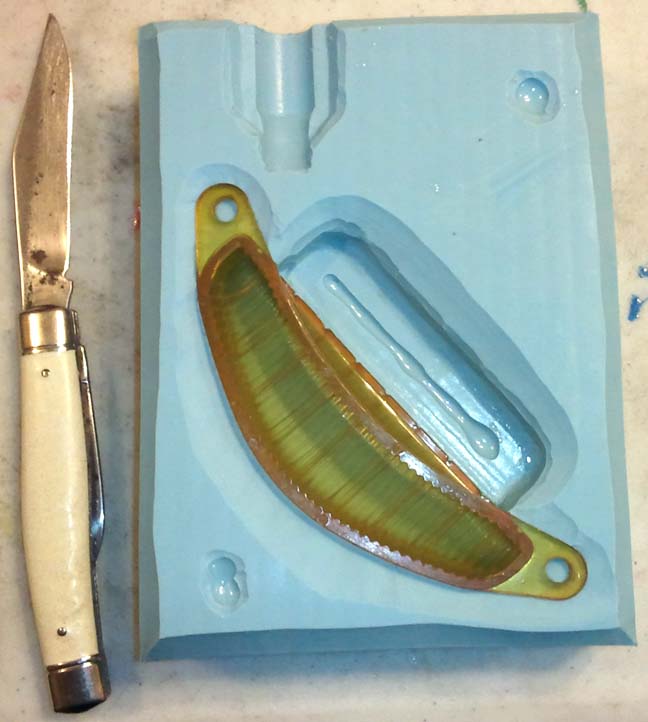
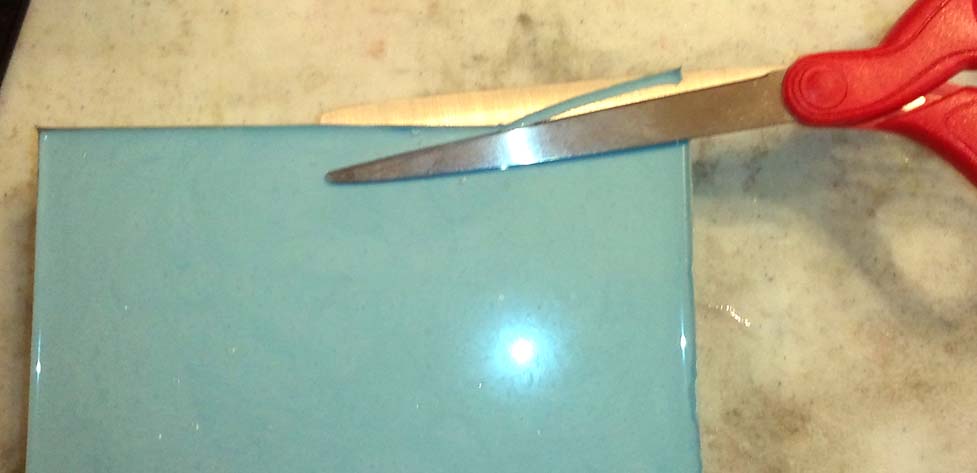
Use scissors or a knife or a grindstone in a rotary power tool to cut off the meniscus edge on the back of the mold. Alternatively, you can mix up enough silicone to coat the surface then set it on a smooth and level surface until it cures. That can also thicken a mold that's a bit thin over the bottom of the mold cavity.
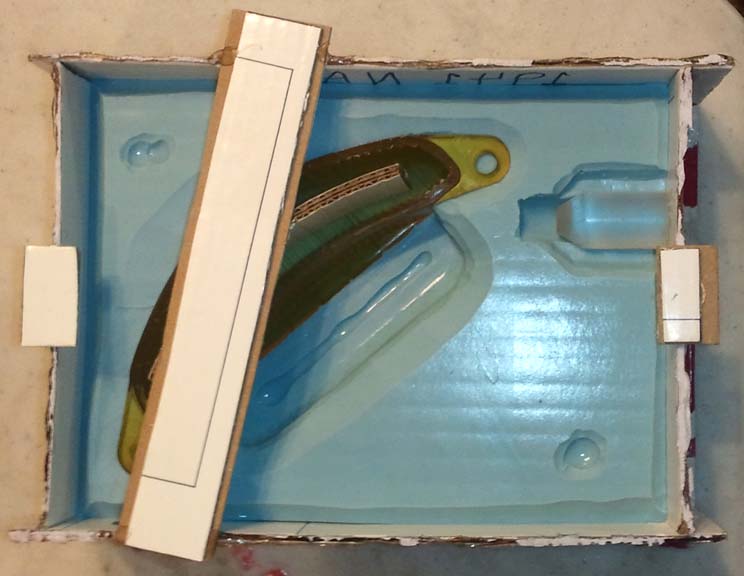
Here I've re-used the cardboard from the form. I sealed the hole in the base piece with hot glue and smoothed it. Note the plastic cylinder placed into the sprue former cavity. That forms the other half of the sprue hole. The sprue former shown earlier was made by building up clay around this cylinder, casting a mold then casting quick setting plastic into that cavity. I've made a few of those, it makes mold making go quicker.

For castings that have a deep cavity, the mold needs a relief cavity. I curved two pieces of corrugated cardboard, hot glued them together then used hot glue to seal the edges. It's held in place by a bridge made of two pieces of cardboard hot glued together then glued to the form sides. For larger cavities, construct a hollow “boat” form. Coating large relief cavity forms with resin improves their strength and can make them reusable to make more molds. Bridges for large forms need to be stronger, fold and glue corrugated cardboard into triangular tubes to hold them down so they won't float in the liquid silicone.
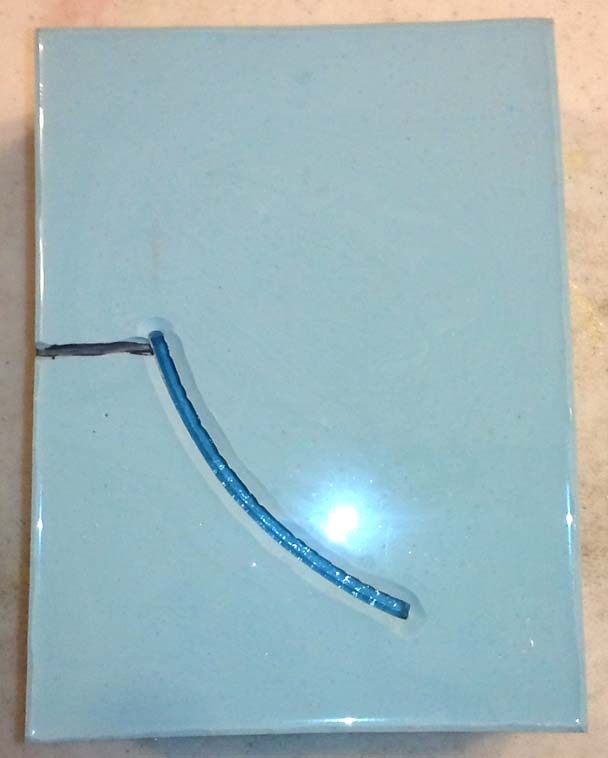
The mold has been gated and vented. (Highlighted with a Sharpie.) The gate is the channel connecting the sprue to the mold cavity. Vents allow air to exit the cavity as it's filled. I cut them using a fiber reinforced cutting disk on a Dremel and use various grindstones on it as well. Much of the gate was first cut with a knife then smoothed with grindstones. Hopefully I have enough vents in all the right places, with several years experience at this I *usually* get it good the first time. ;) When using cutting disks and grindstones on silicone, wear a dust mask, eye protection and old clothes. The silicone grindings are a fine dust that sticks with static cling to just about everything. It's very resistant to being blown off. To get it off the mold requires warm soapy water and a brush. I use an old toothbrush. Clean the mold, let it dry and inspect for silicone powder. You're almost 100% sure to find some left so wash and scrub it again. Even with the mess, cutting the gates and vents after making the mold is much faster that trying to cast them into the mold by using clay and other things glued to the form base, plus you can get them precisely where you want.

Finally, the relief cavity needs to be vented so that pressure won't collapse it and cause a distorted casting. Alternatively you can drill holes through the clamping boards or use pieces of pegboard to hold the mold together. For smaller molds a few inches in size, large rubber bands will work. Molds this size and up need mold straps. They're a nylon webbing strap with an over-center buckle that can put a lot of pressure on whatever is held within the strap. They take some experimenting to get the right tension. Not enough pressure and resin can leak out of the mold. Too much pressure and the mold cavity can be distorted. Molds that are thicker around the cavity can take more pressure without distorting, so can silicone with a higher durometer (stiffness/hardness). Thicker molds cost more and making a mold thicker than needed can make the castings harder to remove when they're like this lens.
Now the mold is ready to cast! I'll have to wait until tomorrow to see if I got the vents right. Always budget your materials and time to consider the first casting to be a loss. If it comes out good, that's a bonus. If it comes out bad, fix the vents and gate and cast it again. After you've done a few molds you'll learn how to 'read' an item to know how to position it for casting, where to place the gate and vents and where to put the parting line. A big benefit of RTV silicone is often you can make a mold with fewer pieces than the metal molds used to make the original. This lens was originally made in at least a three part mold. It's not much more complicated to make a three or more part silicone mold, it just takes more time.
Addendum, the first cast, and the second, came out perfect. I didn’t get pictures before I boxed them up to send to the person who paid me to make them.